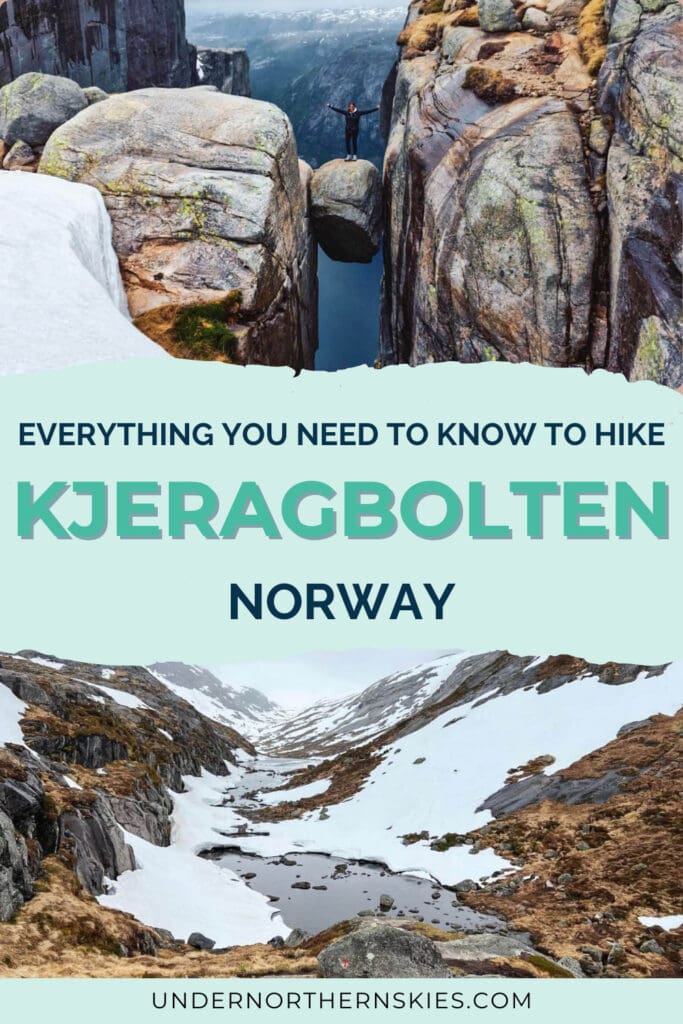

A Complete Guide to the Kjeragbolten Hike in Norway



Are you planning on doing the Kjeragbolten hike in Norway? Here’s our experience with the hike and everything you need to know!
This was easily the best hike we’ve done in Norway. It also ranks pretty highly among the best hikes we’ve ever done anywhere. It was exhilarating and so much fun even though, by the end of it, our legs were definitely feeling it!
If you’re travelling to the south of Norway, this should totally be on your travel list. We did this hike as a day trip from Stavanger, and it was one of the best days we had while in the city.
So, if you’re thinking about hiking Kjeragbolten, here’s everything you need to know.
*This post may contain affiliate links that earn us a small commission at no extra cost to you. For more information, read our disclaimer.
How to get to Kjerag
The easiest way by far to get to the Kjerag hike is to hire a car and drive yourself. Public transport is possible but the car gives you the freedom to take as long as you like on the trail without worrying about departure times.

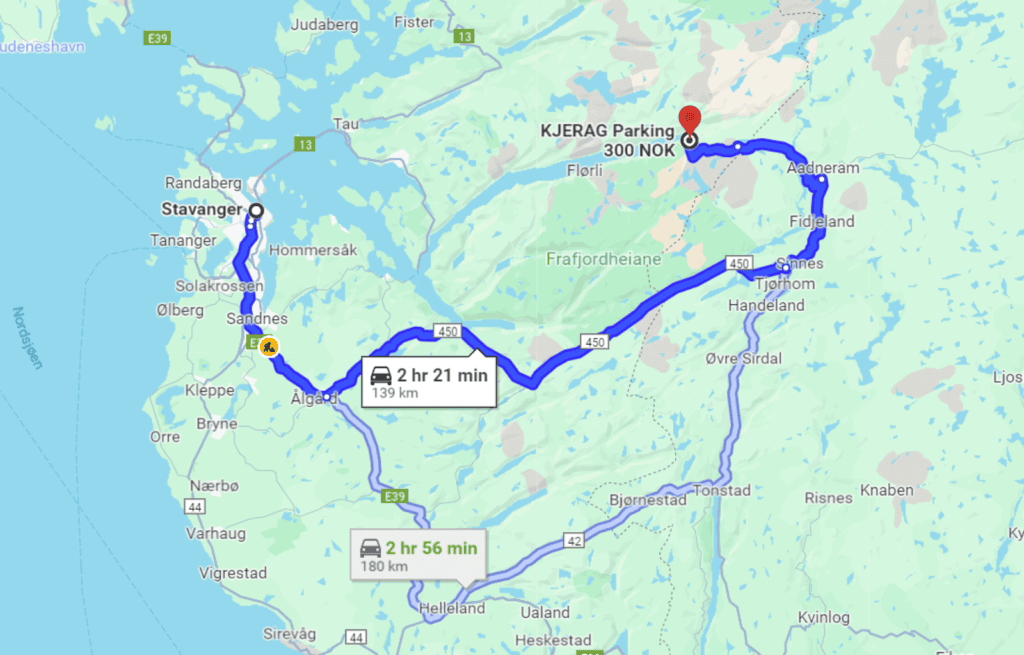
Even though most people stay in Stavanger to hike Kjerag, the city isn’t really what I would call ‘close’ by. It’s a 2.5-hour drive one way to get to the start of the hike.
You can stay in the Lysebotn area (and there are a few B&Bs and campsites here), but Stavanger is the closest city or large town. If you do it as a day trip, you’ll need to leave early, especially if you’re visiting during the summer months.

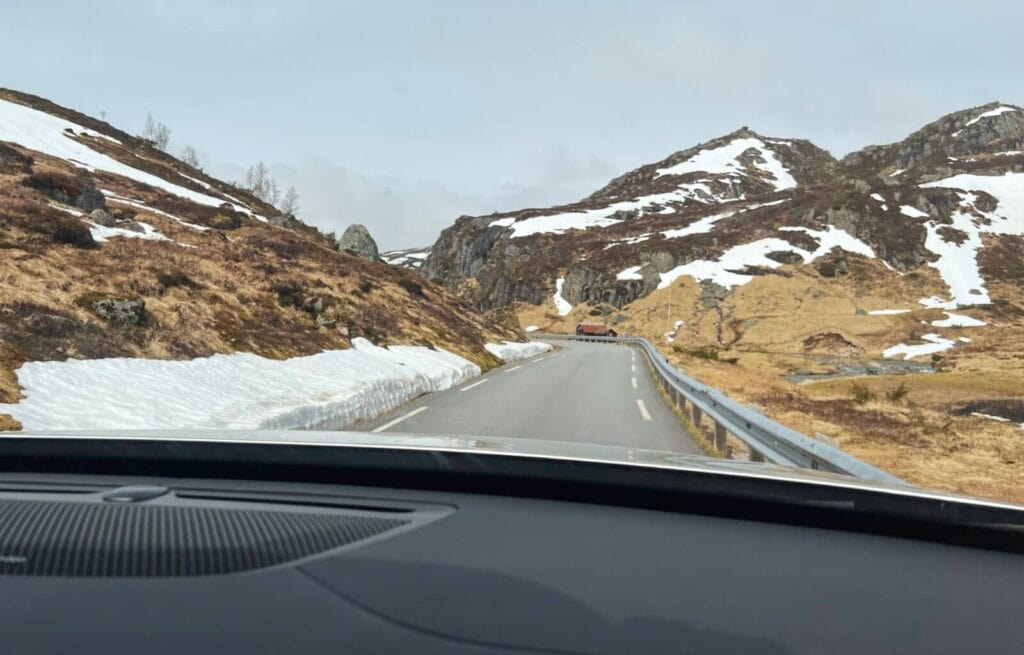
The trail (although not as popular as the Pulpit Rock hike due to its increased difficulty) does get busier during summer. So, starting earlier can make the hike more enjoyable.
Another way to reach the hike is to take your car on the car ferry through the Lysefjord to Lysebotn. However, you will need to pre-book this as they have limited capacity.
TOP TIP: All the roads to the trailhead are closed from November to mid-May, due to the amount of ice and snow in the mountains.
Parking
The car park for Kjerag is chargeable. You’ll need to pay 300 NOK if you’re parking for over 2 hours – which you certainly will be if you’re hiking Kjeragbolten.
The car park can fit up to 400 cars and a parking attendant will meet you when you arrive and tell you where to park. When we did this, they told us the expected conditions on the trail and the weather and temperature at the top.

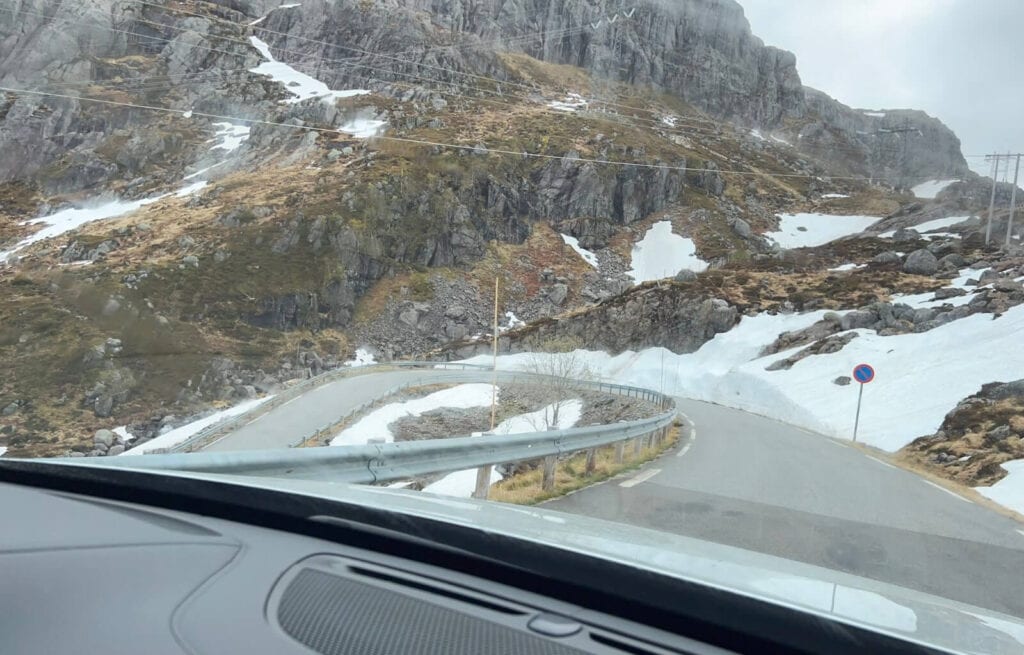
The temperature at the top was -7°C when we visited in late May, so you’ll definitely need to wrap up warm for this hike!
You’ll also find toilet facilities and a cafe in the hut at the car park. These are the only toilets along the entire trail, so I recommend going before you begin the hike.
Public transport
It is also possible to reach Kjerag via public transport. There’s a bus that goes directly from Stavanger to the trailhead. It departs from the Byterminalen track in Stavanger at 7:45 and returns to the city at 16:30.
Unfortunately, there’s only one departure time, so if you haven’t completed your hike in the 6 hours that this allows, you’ll be stuck.
This is why we recommend hiring a car rather than public transport for this hike. It’s a challenging route and I would’ve enjoyed the hike much less if I was constantly checking the time. Nonetheless, if you don’t fancy hiring a car, the bus is a good option.
Hiking Kjerag: what to expect
This hike is challenging but, if you enjoy the outdoors, it’s so much fun! Here’s what to expect.
The stats
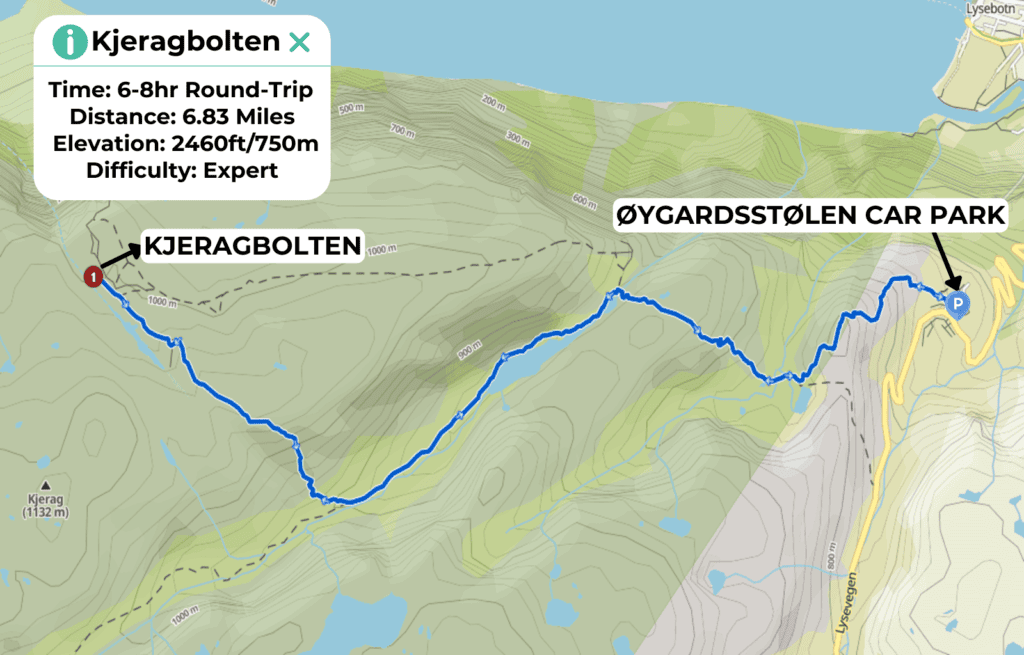
Kjeragbolten is an out-and-back hike which begins at the Øygardstøl Parking. It’s around a 2.5-hour drive from the city of Stavanger in South Norway.
6.83 miles
6-8 hours
750 meters
Challenging
I’ve included some of the statistics above, along with a photo of the route and elevation profile below.



The hike
The hike starts with a very steep incline. As soon as you hit the trail, you’re immediately pulling yourself up a steep rock face with the help of chains.
This is one of the trickiest sections of the entire hike, so if you can do this, you should have no problem with the rest.


However, this is another of the reasons you need to be careful of the conditions. Doing this hike in the rain is not advisable as the rocks can get very slippery and incredibly dangerous.
Once you reach the top of this section, the views back down into the car park are already pretty impressive.

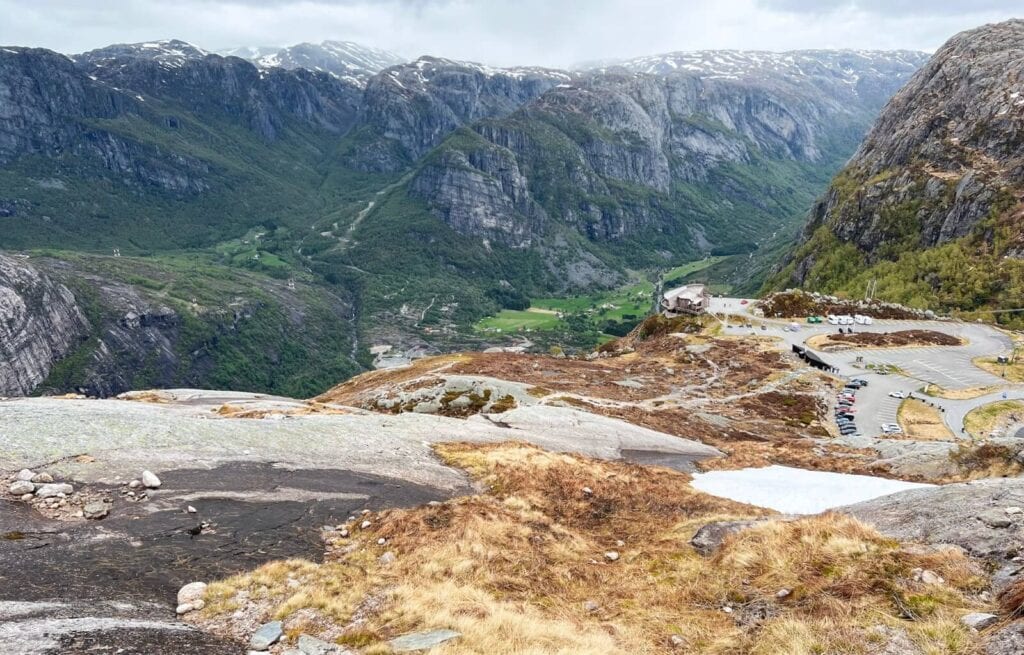
After this, the path flattens out a little. Continue walking for a while until you reach a wide valley that you’ll need to descend into. There are chains for this section too.


After the descent, you’ll be on the second steep climb of the hike.
This also has chains and you’ll need to do a little bit of scrambling as well as simply pulling yourself up. This is the steepest section of the entire hike, but it’s not as long as the first climb.

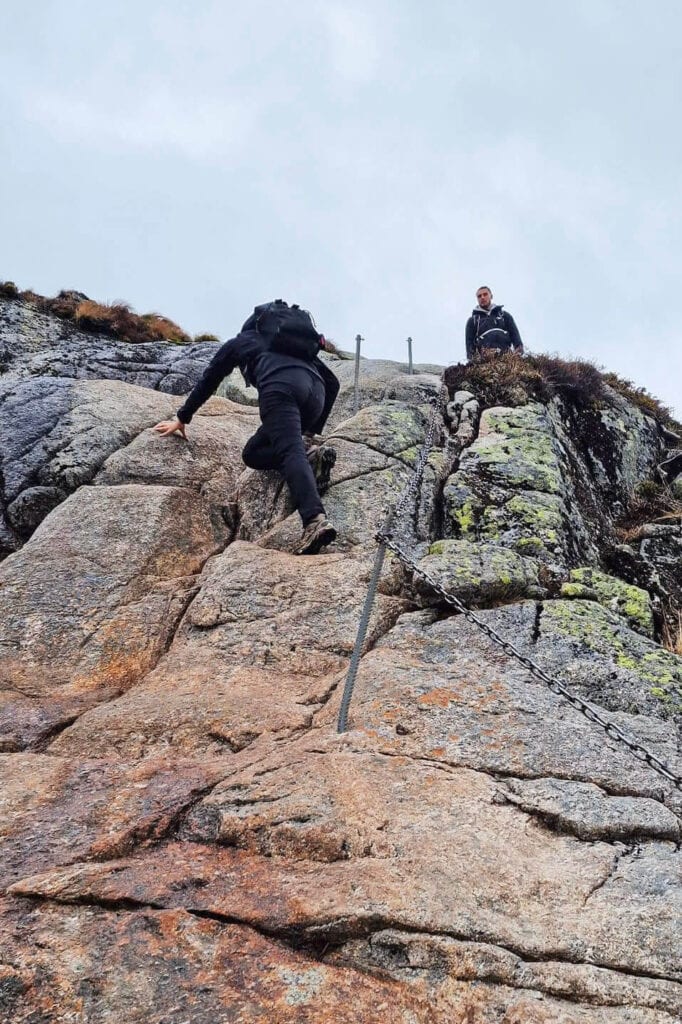
After this, the views start to get really impressive. Continue along the trail for a little while before reaching the final steep climb of the hike.

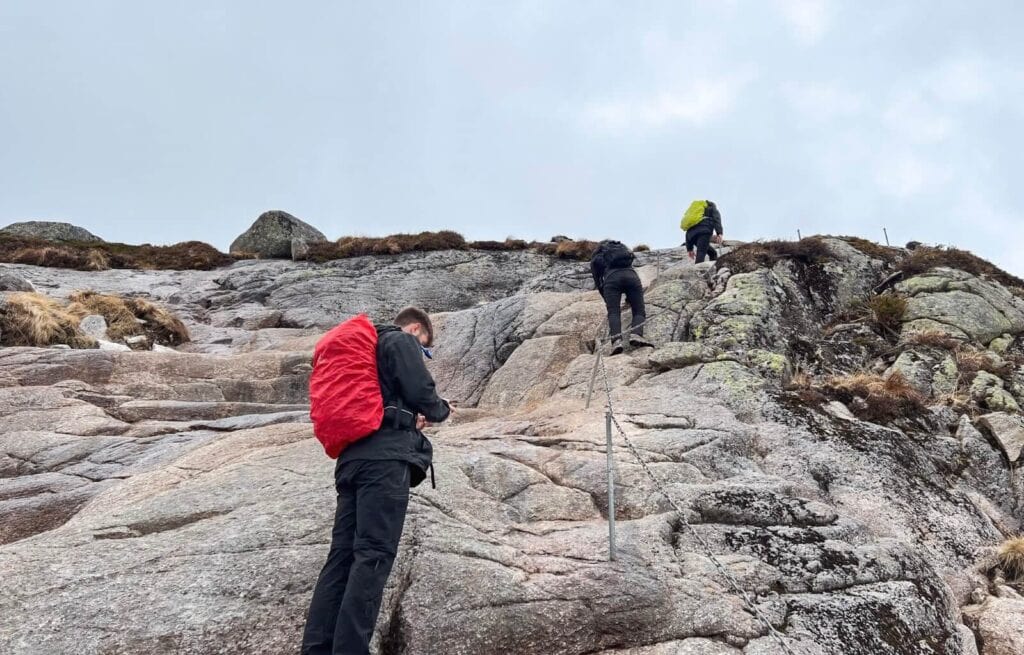
This is a combination of steep rock faces and boulders and is another pretty long climb.
The end of the steep climbs
Once you reach the top, the hike flattens out for a while. This gives you a nice break from climbing, but it’s really important to stick to the path here. If it gets too foggy, it’s quite easy to get lost in the clouds. Follow the red ‘T’ markers, and you should be fine.

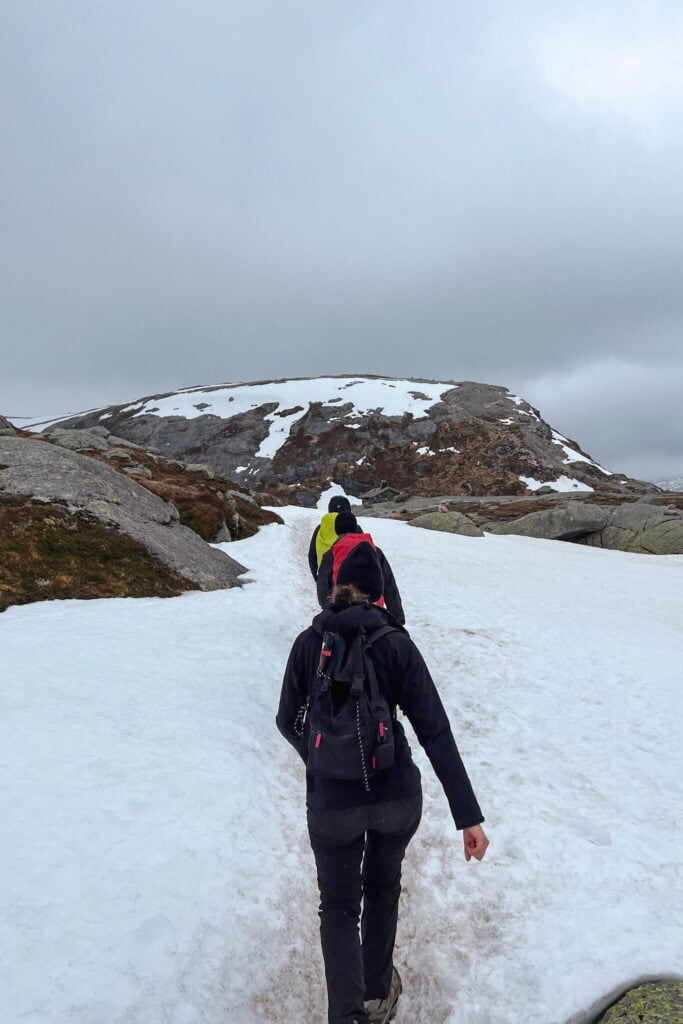
The views here are insane. It literally looks like you’re on top of the world. Unfortunately, it can also be quite cloudy and we managed to capture mainly clouds when we were there.
But, in clear weather, views like this are why I think this hike is worth doing, even if you have no plans to actually step out onto Kjeragbolten.
When you reach this point, there’s still quite a way to go before you reach the boulder. You’ll need to continue along this flat (ish) mountaintop for at least another 30-45 minutes before you get there.
Then, one final gradual descent, and you’ll be at Kjerag.
Reaching the boulder
When we reached the boulder, we decided to stop for lunch. The views were incredible, but there was a noticeable temperature drop when we stopped moving. After we’d eaten, we took turns to step out onto the boulder.
It was very quiet when we went. We visited in late May, so this is the very start of the hiking season in Norway. There can be quite a queue to take ‘that’ photo in the summer months.


As it was, we were the only ones there, so we took our time climbing onto the boulder.
No word of a lie, this was the most terrifying thing I’ve ever done.

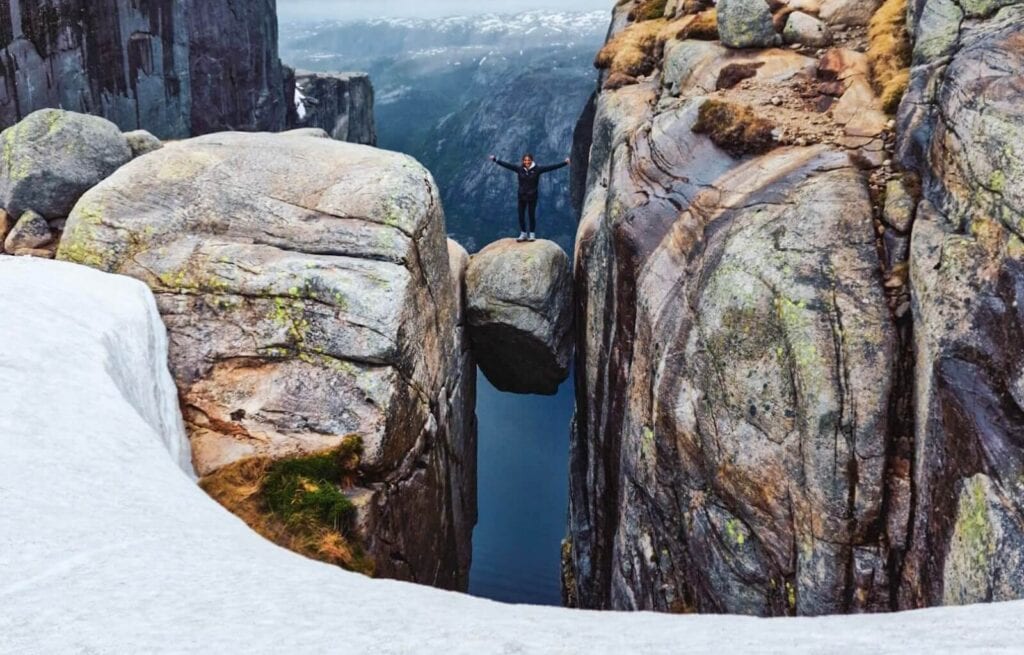
The top of the boulder was sandy which was a little slippery and there was nothing to stop you from plummeting into the fjords below. When I was standing on the boulder looking down into the fjords, it was a very exhilarating and scary feeling.
We both did it and got the picture, but I was very glad to be back on solid ground again.

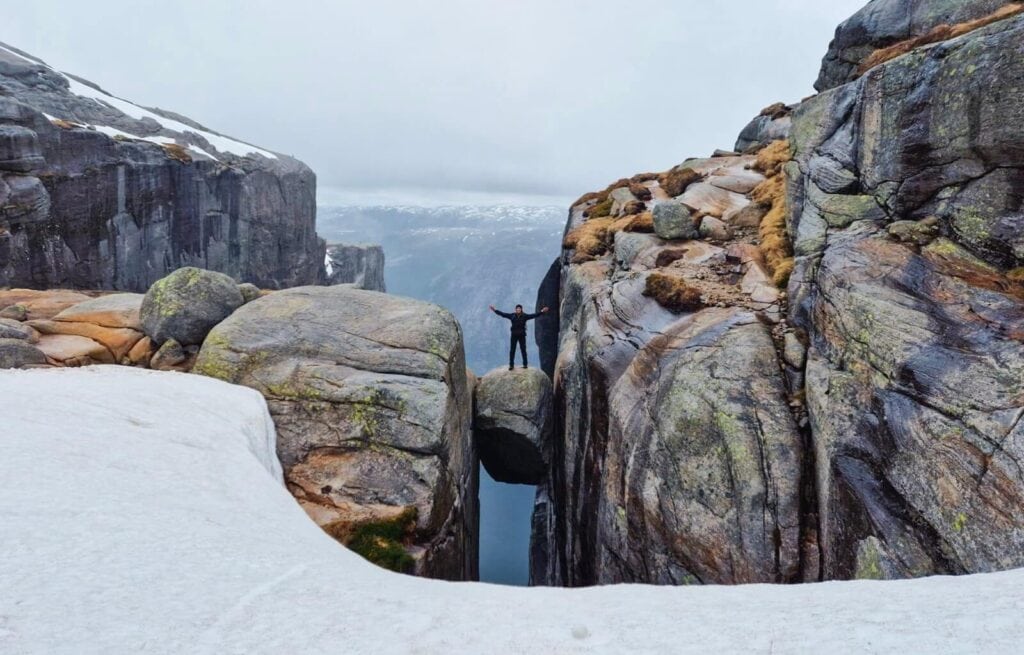
Then, once we’d spent some time admiring the views, eating lunch, and taking photos of the boulder, (and when our hands were starting to get really cold), we headed back down the mountain.
Facilities on the trail
There are no facilities along the entire Kjeragbolten hiking trail. So, you’ll need to prepare to be out in the open for 6-8 hours without access to a toilet. I highly recommend going to the toilet at the visitor centre before you begin the hike.
I also recommend taking a bag with you specially to put any rubbish in. There are no bins along the trail, so it’s important to take any rubbish with you, including toilet paper if you’re caught short and need to go outside.
🍃 Please take everything with you. It’s so important to leave no trace as it keeps these magnificent landscapes looking beautiful and helps to protect wildlife and nature. Leave nothing on the trails, take nothing with you, and stick to the designated trail paths.
The best time to hike Kjerag
The only time possible to hike Kjeragbolten is in the summer months between mid-May and October. The road to the trailhead is closed in winter because it’s covered in ice and snow. So between November and the end of April, the hike is dangerous and impossible to get to.
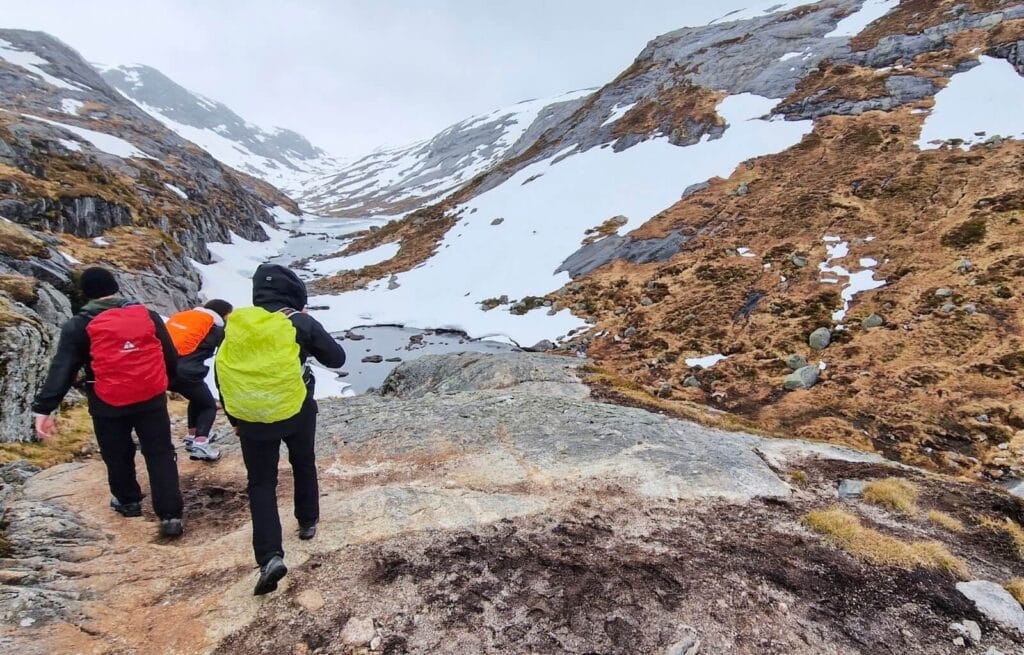
We did this hike in the last week of May during our 5-day trip to Stavanger and had very good conditions. There was still a lot of snow on the trail and, in one part, we had to slide down a snowy hill, which was so much fun!
If you have 3 days in Stavanger or more, we highly recommend this.

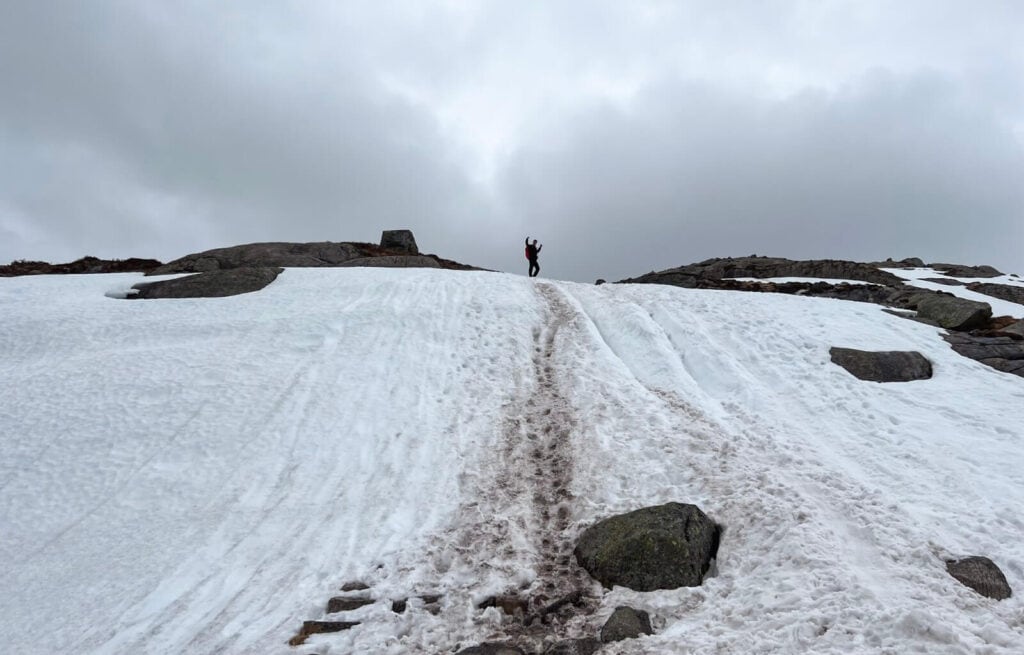
However, the trail was virtually empty – I think we came across about 4 other hiking groups. There was (luckily) no rain either and we were still able to step out onto the boulder.
If we were to do this hike again, I would probably go at a similar time of year, or in mid-September when the trail would likely have less snow, but would still be less crowded than in summer.
What to bring on the Kjeragbolten hike
I recommend wrapping up warm for this hike. The temperature change from the bottom of the mountain to the top is huge. Plus, the temperature difference from Stavanger to the summit is even bigger.
When we did this hike, the temperature in Stavanger was around 14°C. The temperature at the bottom of the mountain was about 2°C, and the temperature at the top was -7°C. So, you really need to pack layers and prepare for anything.

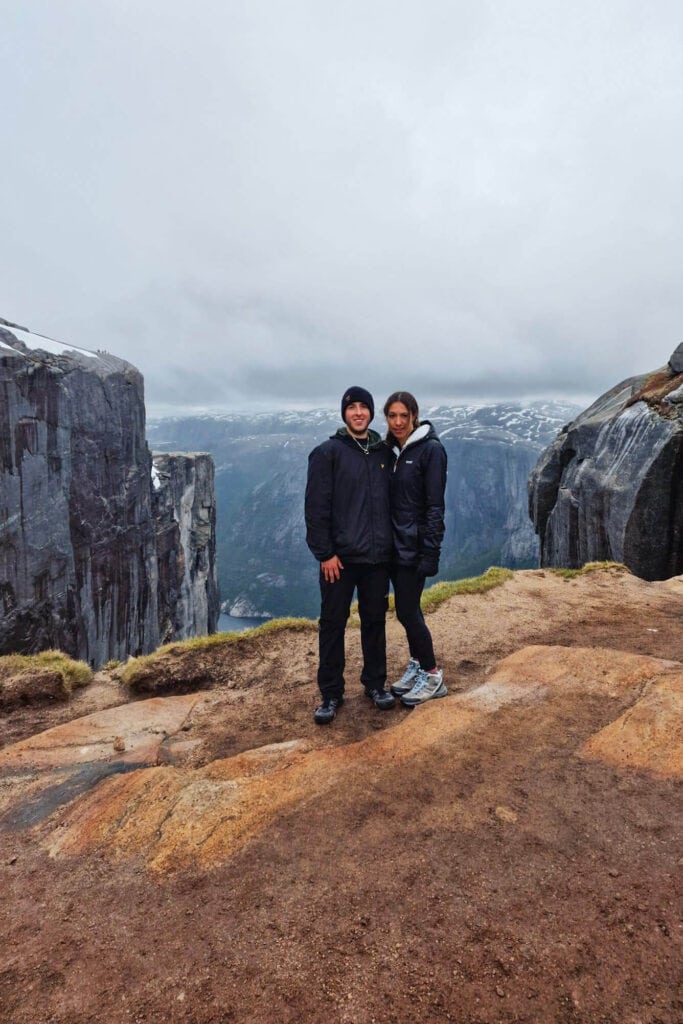
We wore thermal base layers, fleece mid-layers, and fleece-lined hoodies. I also brought my waterproof pac-a-mac which I put on top of my hoodie.
This ended up working perfectly because I didn’t need a huge bulky coat and just wanted something to keep me dry if it rained. I also ended up rolling my sleeves up at some points because, despite the temperature, I got too hot.
We also brought hats, gloves, sturdy waterproof walking boots with good grip – essential for the steep climbs – and a hiking bag with a waterproof bag cover.

In my hiking bag, I had a water bladder with plenty of water, my packed lunch, snacks, toilet roll, and a first aid kit, just in case!
If you’re doing this hike in the peak summer months, you might not need to wrap up quite as warm as we did. But the temperature can still change dramatically in the mountains, so I recommend bringing plenty of layers and being prepared for anything.
Oh, and don’t forget your camera!
TOP TIP: Check the weather before you go. The weather in Stavanger can be very different to the weather in Kjeragbolten. If you get to the car park and it’s rainy or foggy, please don’t attempt this hike. People lose their way in the mountains doing this and need to be rescued.
Who can do this hike?
This hike is quite challenging but it isn’t technical. I’d say anyone with a reasonable level of fitness should be able to do this.
You’ll need to be comfortable doing several long, steep climbs using chains, scrambling over rocks, and hiking for between 6-8 hours.
If you’d prefer some easier hikes near Stavanger, we also loved Trollpikken and Manafossen which were much less demanding. We did these with the whole family.
Is the Kjeragbolten hike worth it?
Yes, hiking Kjeragbolten is 100% worth it! We’ve done countless hikes around the UK, Norway, and Iceland and this is still one of our favourite hikes we’ve ever done.
The trail is so much fun and, despite being completely terrifying, we both loved the thrill of stepping out onto the boulder at the top. If you have a weekend in Stavanger or longer, we highly recommend this!
Just remember to be prepared. Check the weather, bring layers and plenty of food, and leave no trace, and this could end up being one of your best travel memories ever.
👉 Haven’t decided where to stay, yet? Check out our 12 favourite hotels in Stavanger!
Pin for later!